
Color, clear coat and blending
Auto Painting & Refinishing in Heath With Color That Blends In
Texas sun, lake humidity and gravel kicked up on I-30 all take a toll on paint. We prepare the surface properly, spray in a booth and blend so the repair disappears.
Talk paint colors with our refinish team at (000) 000-0000Most of a Lasting Finish Happens in the Prep
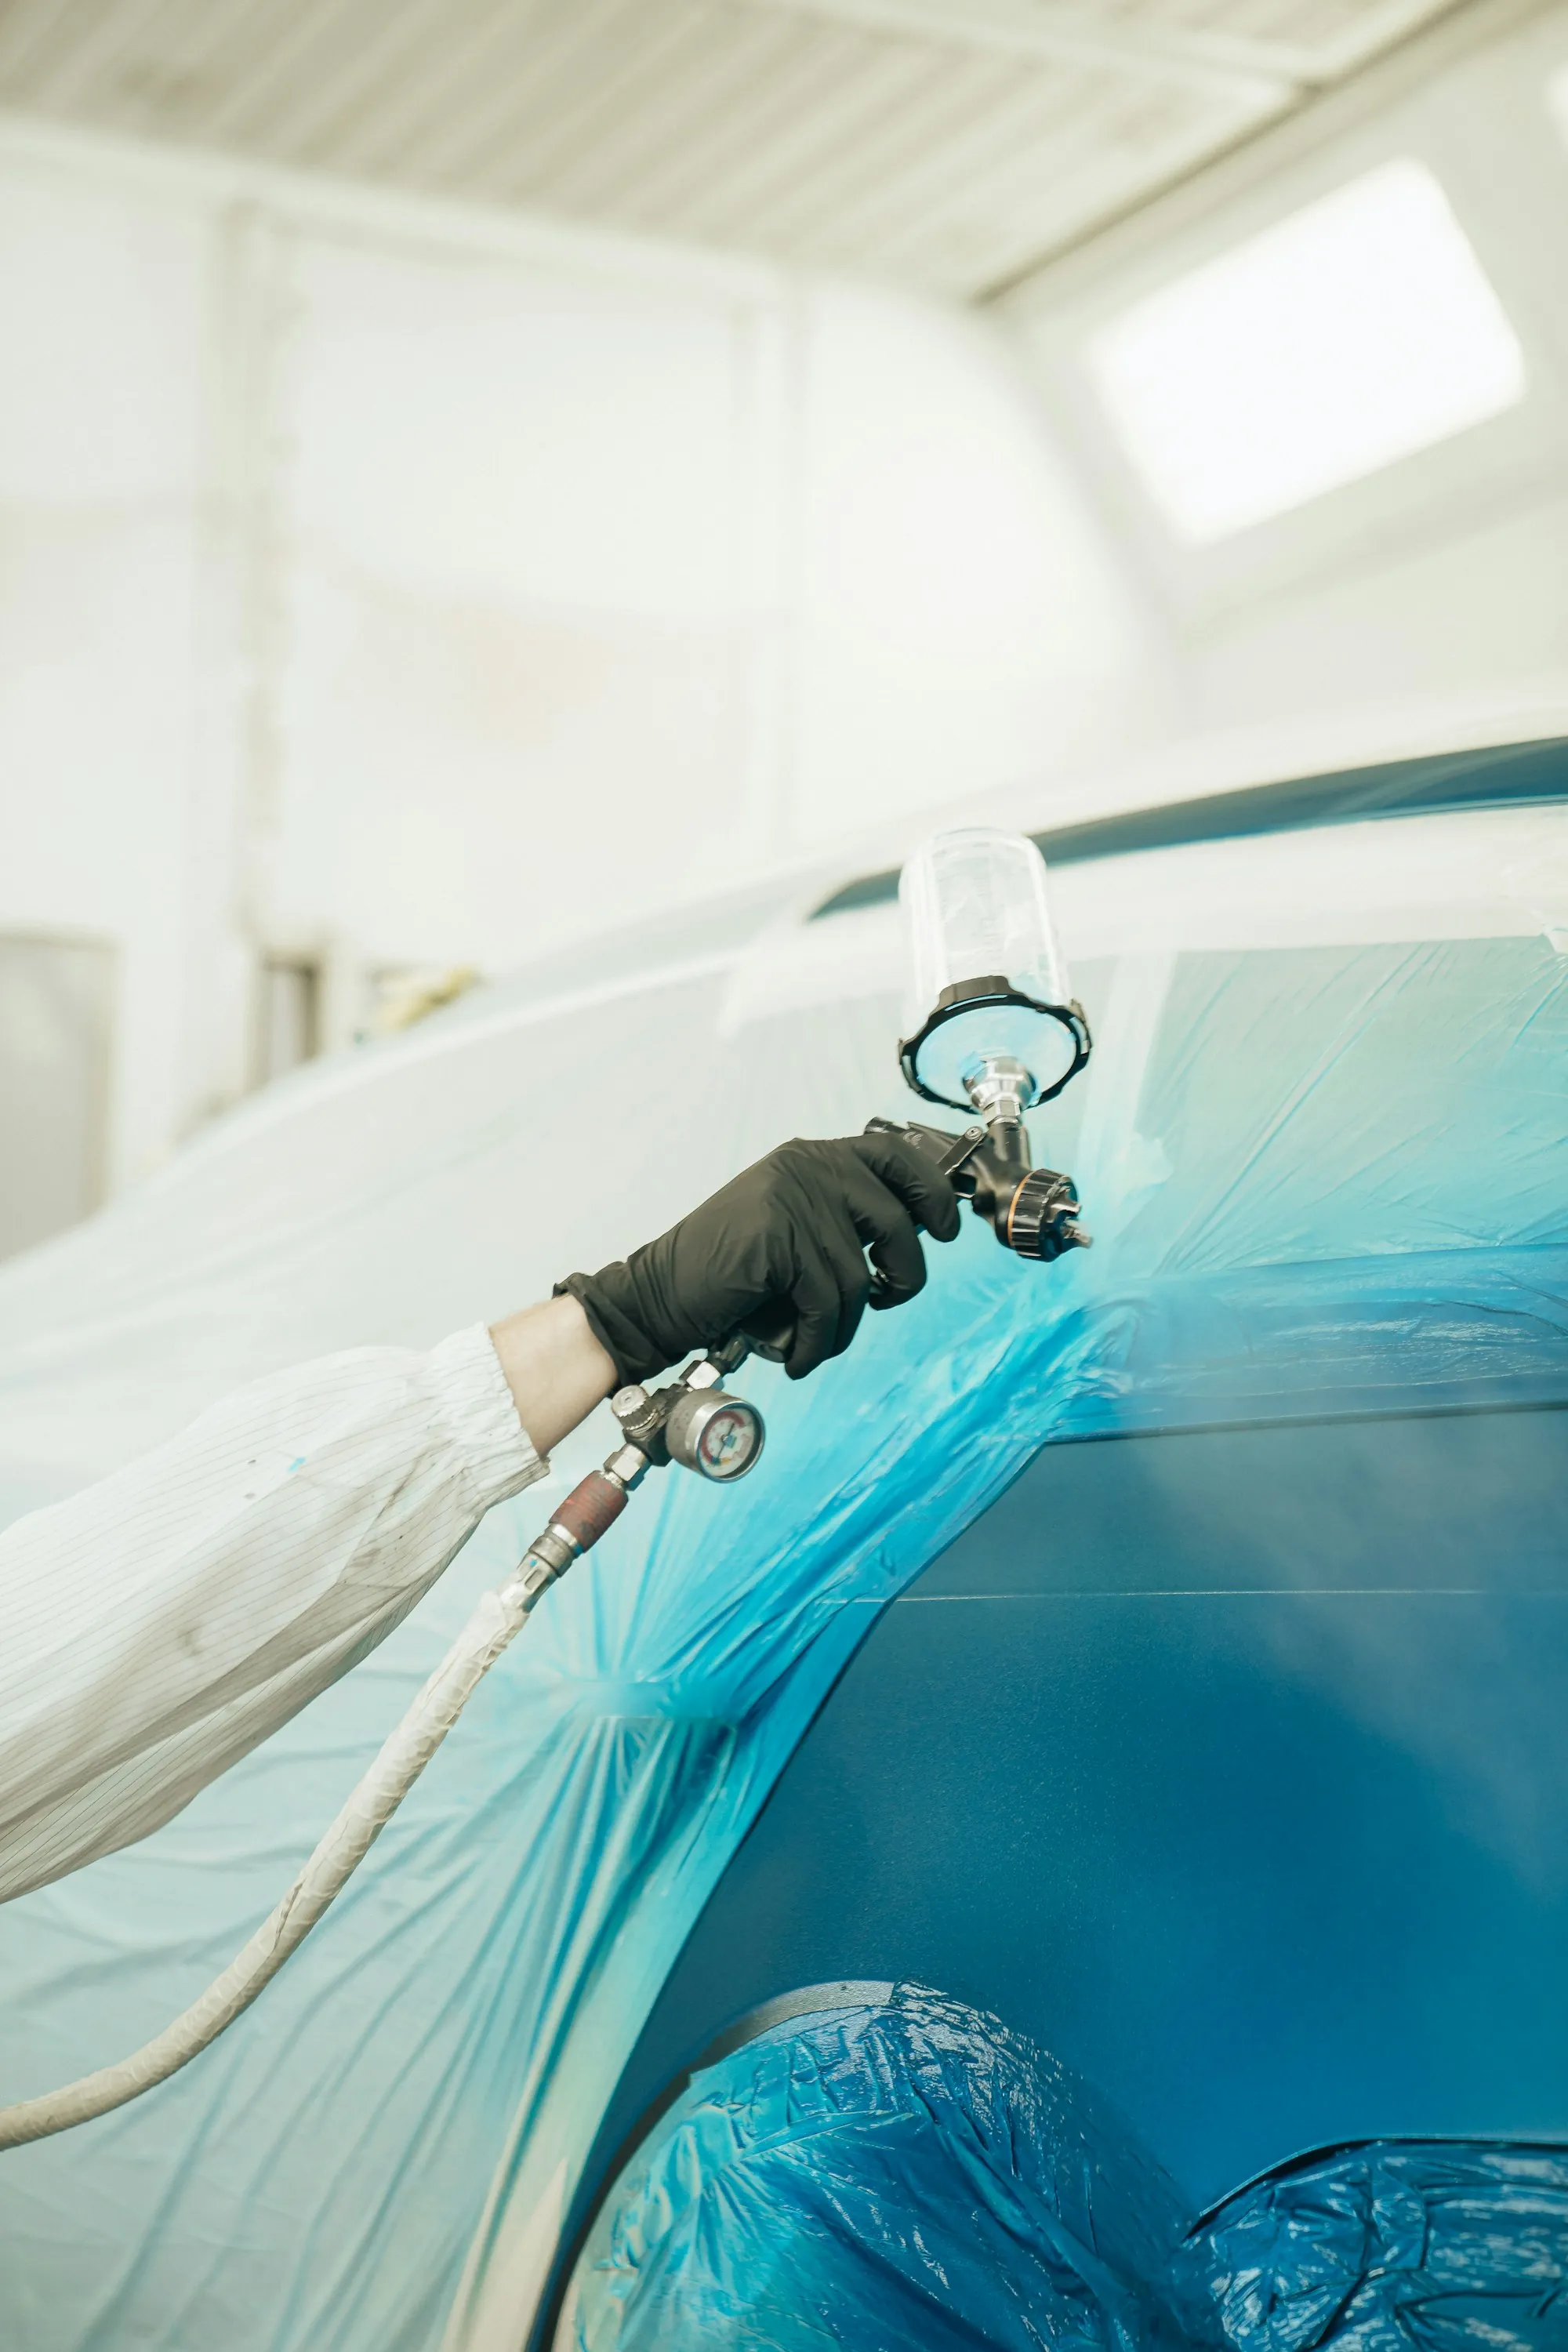
The color itself is the final chapter of a durable paint job. The surface has to be cleaned, sanded, sealed and primed so the topcoat bonds and stays smooth long after you drive away. We start with your vehicle's paint code, then tint and test the mix against the actual car, because sun and age shift every color a little. The basecoat is sprayed in a ventilated booth and blended into the neighboring panels so there is no line for the eye to catch. A clear layer then seals in gloss and shields the color. Whether it is a single door for a family in Forney or a sun-faded hood here in Heath, the process is the same careful one.
Steps in Every Refinish We Do
From a single bumper cover to several panels, each paint job follows the same thorough routine.
Paint code and spray-out card
Your color code is looked up and a sample panel is sprayed to compare against the car in natural light before painting the panel.
Masking that keeps overspray off
Glass, trim, sensors and neighboring panels are masked so overspray stays exactly where it belongs.
Sanding and surface prep
Old clear coat, oxidation and scratches are sanded away so the new layers grip firmly.
Sealer and primer
Bare spots are sealed and primed, then block-sanded so the panel is level and smooth.
Basecoat in a filtered booth
Color is applied in a clean, filtered booth to keep dust and insects out of the finish.
Feathered into neighboring panels
Color is gradually extended across the adjoining panels so the change cannot be spotted from any angle.
A tough clear layer
A durable clear coat adds gloss and guards against the sun and road grime that come with daily driving.
Sensor-safe paint thickness
Paint over bumper radar and parking sensors is kept within the thickness those sensors need to read correctly.
From Bare Panel to Glossy Finish
- 01
Dial in the color
We read the paint code, mix a sample and spray a test card. That card is held against the car under bright, even lighting and adjusted until it matches. Older or sun-faded paint often needs a slight variation from the formula. Getting this right before spraying saves you a second visit.
- 02
Prepare and prime
Sanding, degreasing and masking come first. Any bare spot then receives sealer and primer. After curing, the surface is block-sanded and cleaned again. Only a smooth, spotless panel goes into the booth.
- 03
Spray, blend and finish
Basecoat is applied in light passes and blended into the surrounding panels. Clear coat follows for gloss and protection. Once cured, any small imperfections are sanded and polished out, and we reinstall trim and check the sensors near the painted area.
Why Our Refinish Work Holds Up
Matched to your car, not a chart
Every color is checked against the vehicle itself. That is how a repaired door ends up looking like it never left the factory.
Patience in the prep
We spend the time on sanding and priming that keeps paint from peeling or showing sand scratches later. Skipping that work is how paint fails early.
Safety sensors respected
Paint thickness over radar and parking sensors is kept in range so the alerts that protect your family keep working. We test those sensors once the trim goes back on.
Is a Panel Due for New Color?
Tell us which panels need attention and what caused the damage, and we will explain the refinish process for your car. It is an easy conversation, with no pressure attached.
Refinish questions? We are at (000) 000-0000